Set up AWS Trainium instance
In this guide, we will show you:
- How to create an AWS Trainium instance
- How to use and run Jupyter Notebooks on your instance
Create an AWS Trainium Instance
The simplest way to work with AWS Trainium and Hugging Face Transformers is the Hugging Face Neuron Deep Learning AMI (DLAMI). The DLAMI comes with all required libraries pre-packaged for you, including the Neuron Drivers, Transformers, Datasets, and Accelerate.
To create an EC2 Trainium instance, you can start from the console or the Marketplace. This guide will start from the EC2 console.
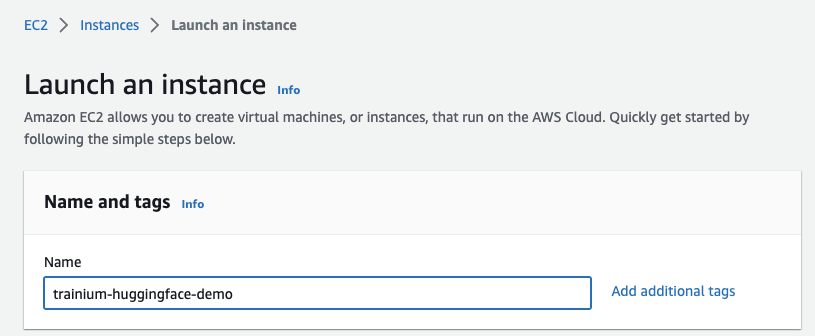
Starting from the EC2 console in the us-east-1 region, You first click on Launch an instance and define a name for the instance (trainium-huggingface-demo).

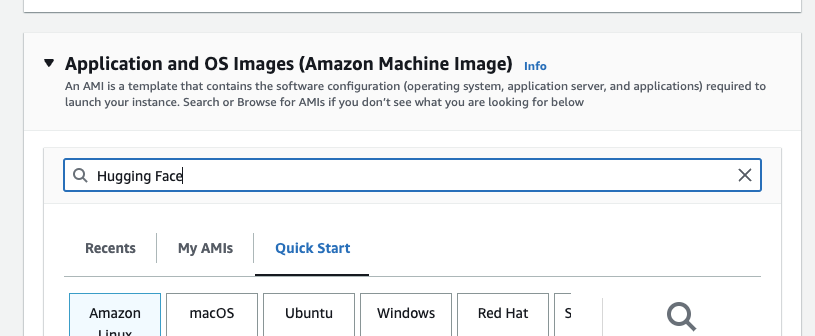
Next, you search the Amazon Marketplace for Hugging Face AMIs. Entering “Hugging Face” in the search bar for “Application and OS Images” and hitting “enter”.

This should now open the “Choose an Amazon Machine Image” view with the search. You can now navigate to “AWS Marketplace AMIs” and find the Hugging Face Neuron Deep Learning AMI and click select.

You will be asked to subscribe if you aren’t. The AMI is completely free of charge, and you will only pay for the EC2 compute.
Then you need to define a key pair, which will be used to connect to the instance via ssh. You can create one in place if you don’t have a key pair.

After that, create or select a security group. Important you want to allow ssh traffic.

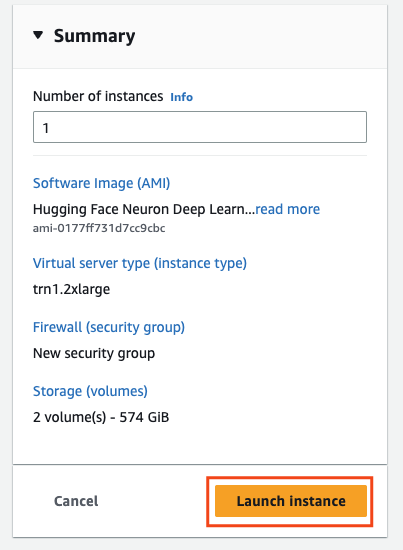
You are ready to launch our instance. Therefore click on “Launch Instance” on the right side.

AWS will now provision the instance using the Hugging Face Neuron Deep Learning AMI. Additional configurations can be made by increasing the disk space or creating an instance profile to access other AWS services.
After the instance runs, you can view and copy the public IPv4 address to ssh into the machine.

Replace the empty strings "" in the snippet below with the IP address of your instances and the path to the key pair you created/selected when launching the instance.
PUBLIC_DNS="" # IP address
KEY_PATH="" # local path to key pair

ssh -i $KEY_PATH ubuntu@$PUBLIC_DNS
After you are connected, you can run neuron-ls to ensure you have access to the Trainium accelerators. You should see a similar output than below.
ubuntu@ip-172-31-79-164:~$ neuron-ls
instance-type: trn1.2xlarge
instance-id: i-0570615e41700a481
+--------+--------+--------+---------+
| NEURON | NEURON | NEURON |   PCI   |
| DEVICE | CORES  | MEMORY |   BDF   |
+--------+--------+--------+---------+
| 0      | 2      | 32 GB  | 00:1e.0 |
+--------+--------+--------+---------+
Configuring Jupyter Notebook on your AWS Trainium Instance
With the instance is up and running, we can ssh into it.
But instead of developing inside a terminal it is also possible to use a Jupyter Notebook environment. We can use it for preparing our dataset and launching the training (at least when working on a single node).
For this, we need to add a port for forwarding in the ssh command, which will tunnel our localhost traffic to the Trainium instance.
PUBLIC_DNS="" # IP address, e.g. ec2-3-80-....
KEY_PATH="" # local path to key, e.g. ssh/trn.pem

ssh -L 8080:localhost:8080 -i ${KEY_NAME}.pem ubuntu@$PUBLIC_DNS
You are done! You can now start using the Trainium accelerators with Hugging Face Transformers. Check out the Fine-tune Transformers with AWS Trainium guide to get started.